
Preparing for a session can be a chore for many anglers. However, the fact is, if you’re fully prepped before you head to the beach, you’re going to catch more fish. One of the critical areas of preparation is making rigs. Now, if you’re like me, sitting in front of the TV making rigs is a slow and laborious task. You’ve got bits of tackle everywhere; you’re having to make each rig individually and it just takes time! Manufacturing lines are efficient for a reason. Each task is repeated over and over again to produce something quickly and with fewer mistakes. Thinking about how these manufacturing lines work made me think about how I could make multiple, identical rigs rapidly, and so the idea of some kind of rig jig set up in my garage was born.
Being the tackle tart that I am, I started to look at ways to convert my garage into a proper rig making space. As soon as I saw some of the rig jigs other anglers were using, I knew I had to have one! With options available on the market few and far between and the ones that were available being fairly expensive, I thought I would have a go at making my own. Little did I know I would end up spending as much on parts as I would have spent on buying one. Anyway, below is a detailed account of how I made mine and how you can make one for yourself too.
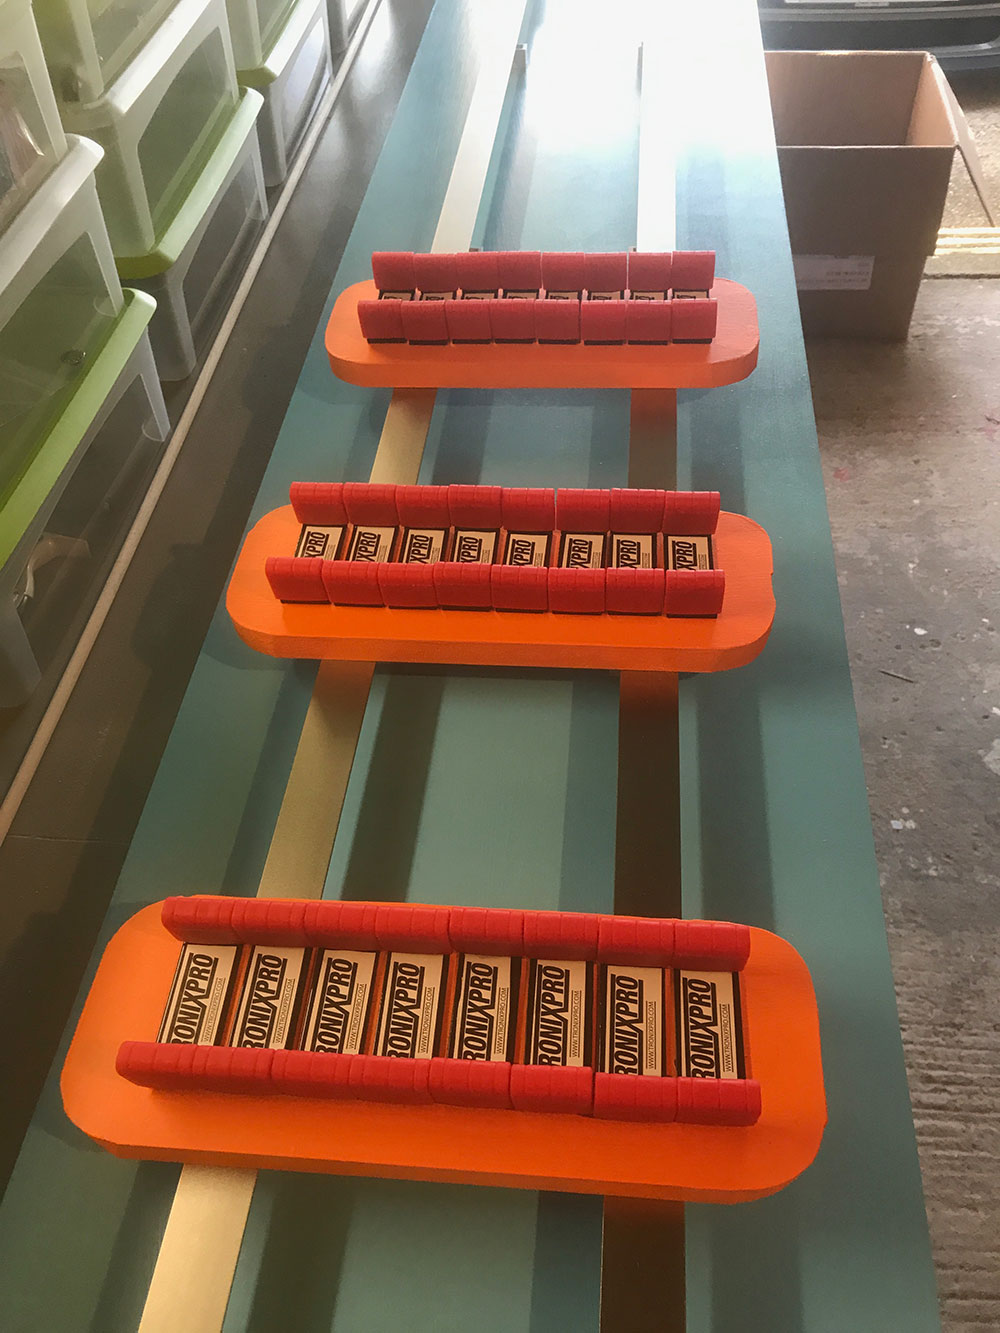
The first decision I needed to make was how long the rig jig needed to be. I wanted a solution that would cover the vast majority of rigs that I would ever make (if not all of them). I went with a fourteen-foot set up made in two parts. I would have a seven-foot platform that would cover most of my rigs and a seven-foot extension piece that could be used for making long, light rigs for summer fishing.
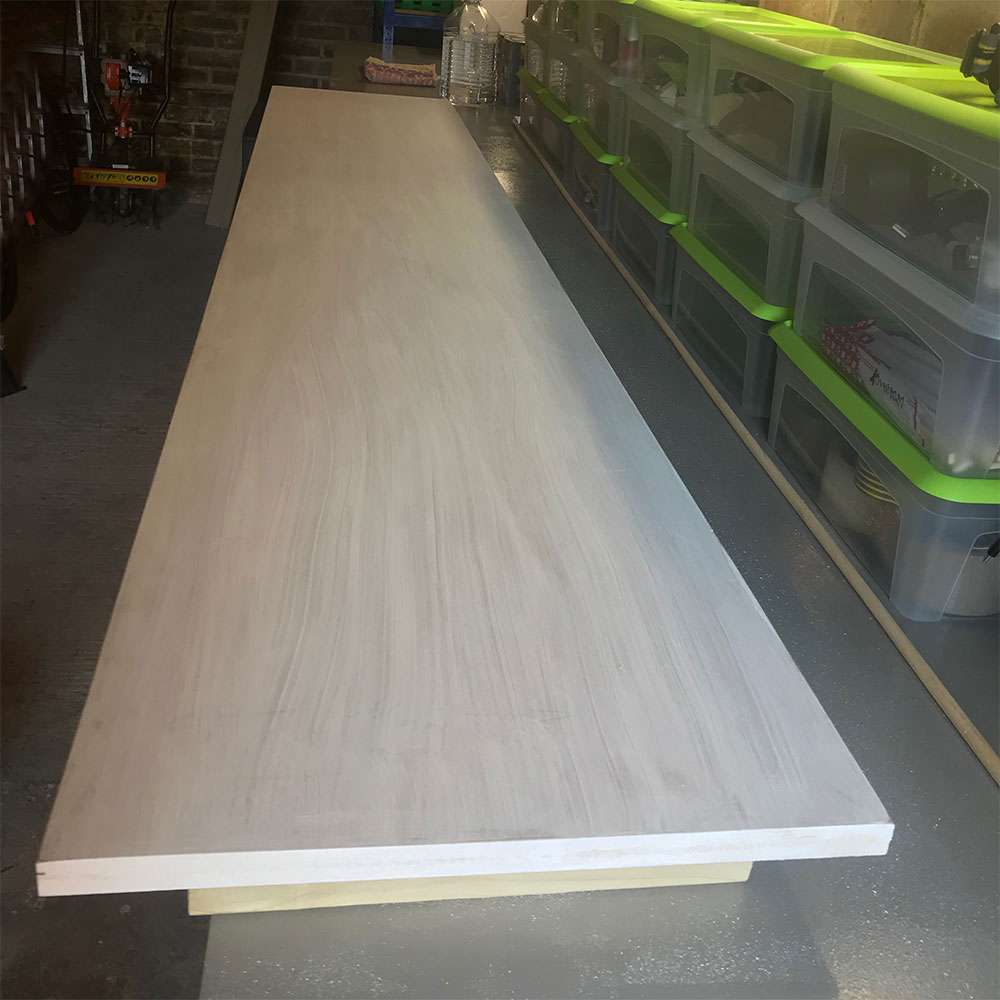
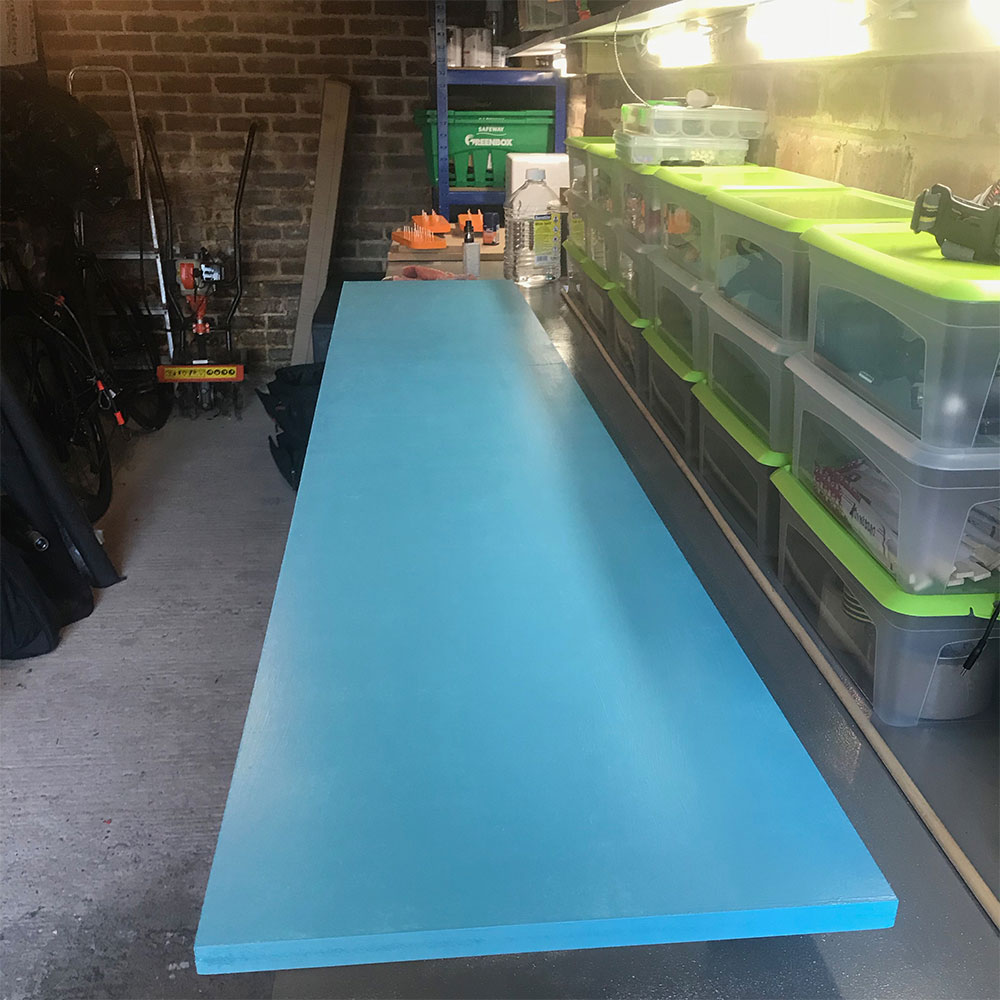
I began to build the rig jig with two sheets of MDF, seven feet long which I primed and painted.
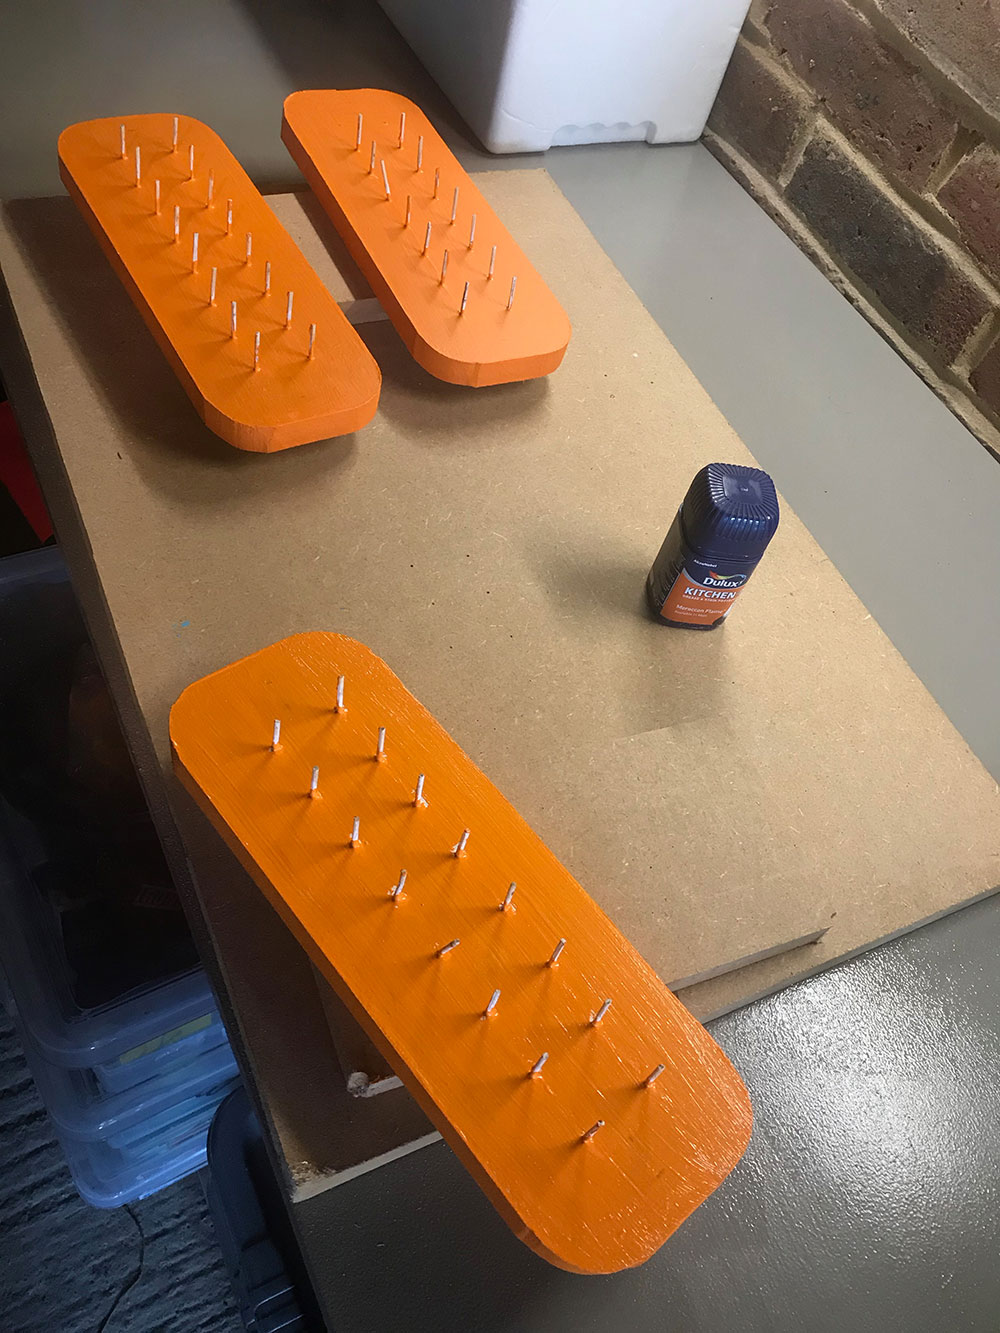
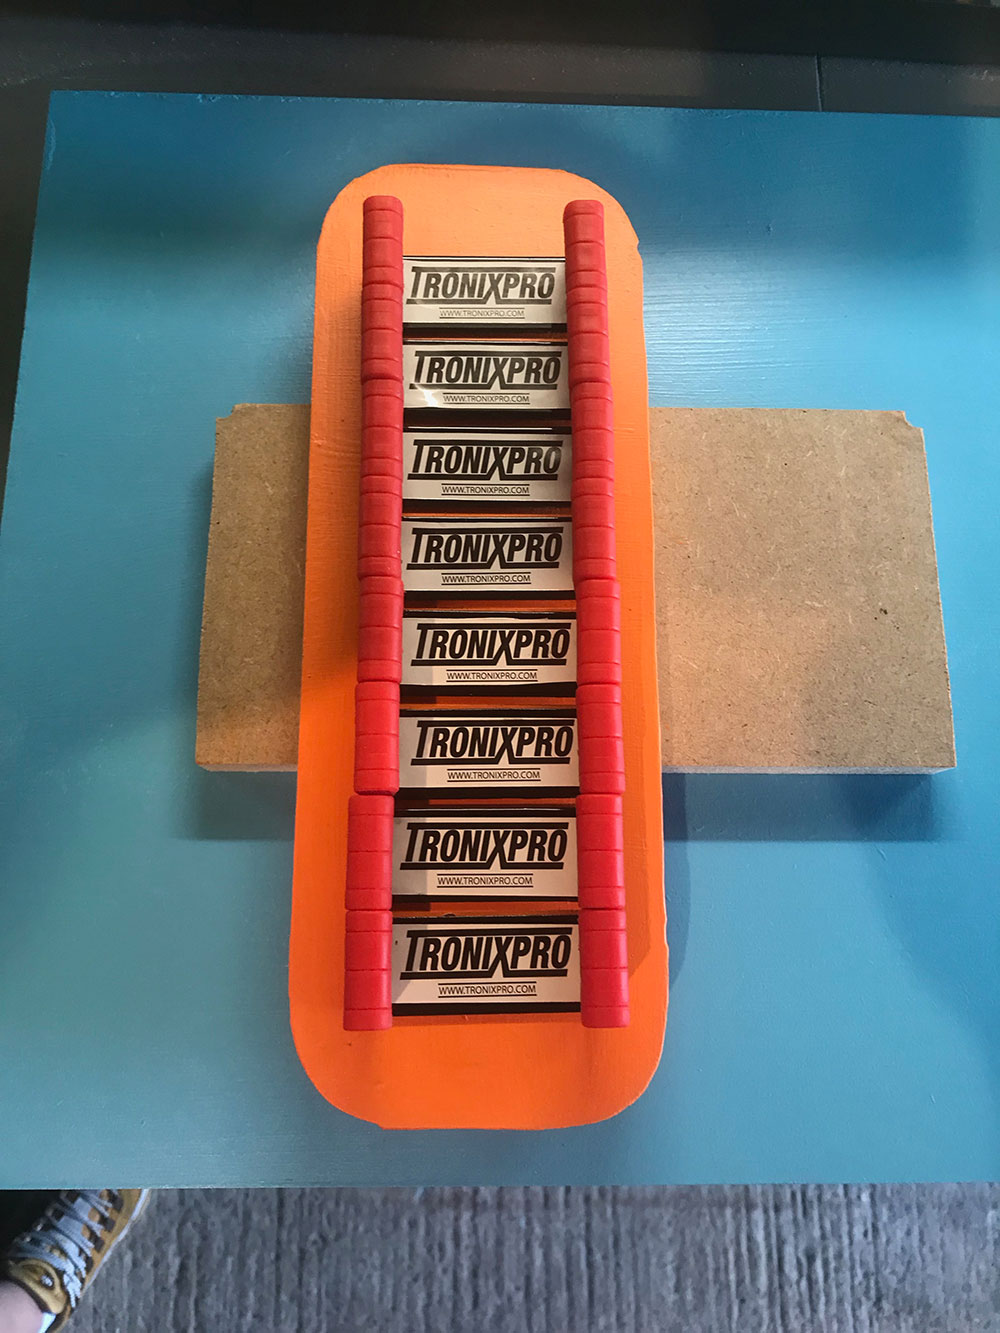
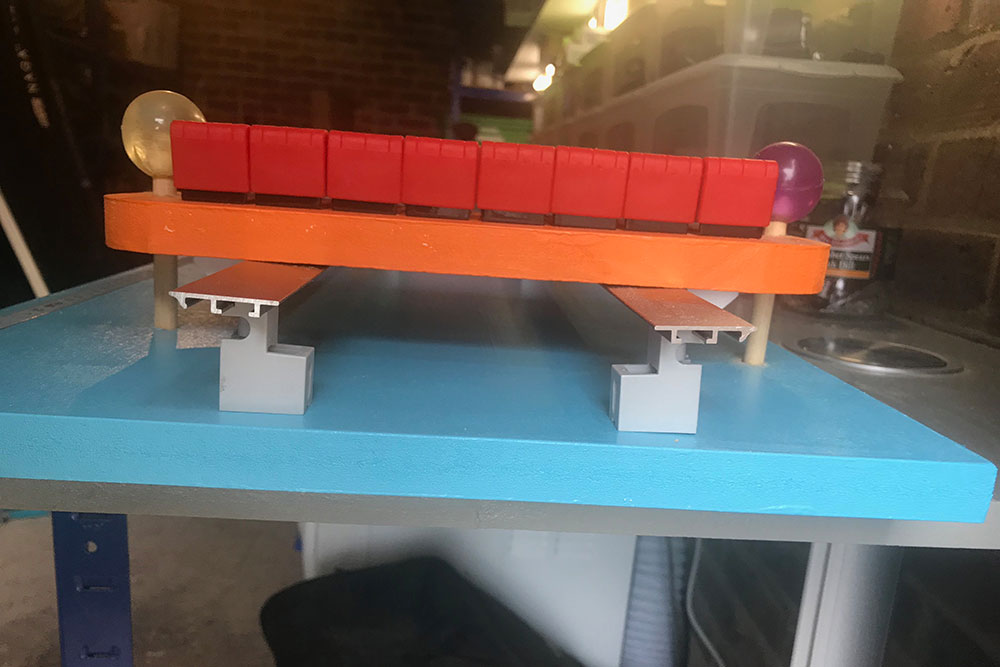
The next decision would be to decide how many rigs I wanted to make at once on my rig jig. I went for a total of eight Tronixpro Rig Jigs across the width, giving me the capacity to produce 24 rigs at a time. I wanted the platform these rig jigs stood on to be moveable so that I could adjust for different lengths of hook length. I cut up some MDF sections to hold eight Tronixpro Rig Jigs each, painted them and fixed the jigs in place.
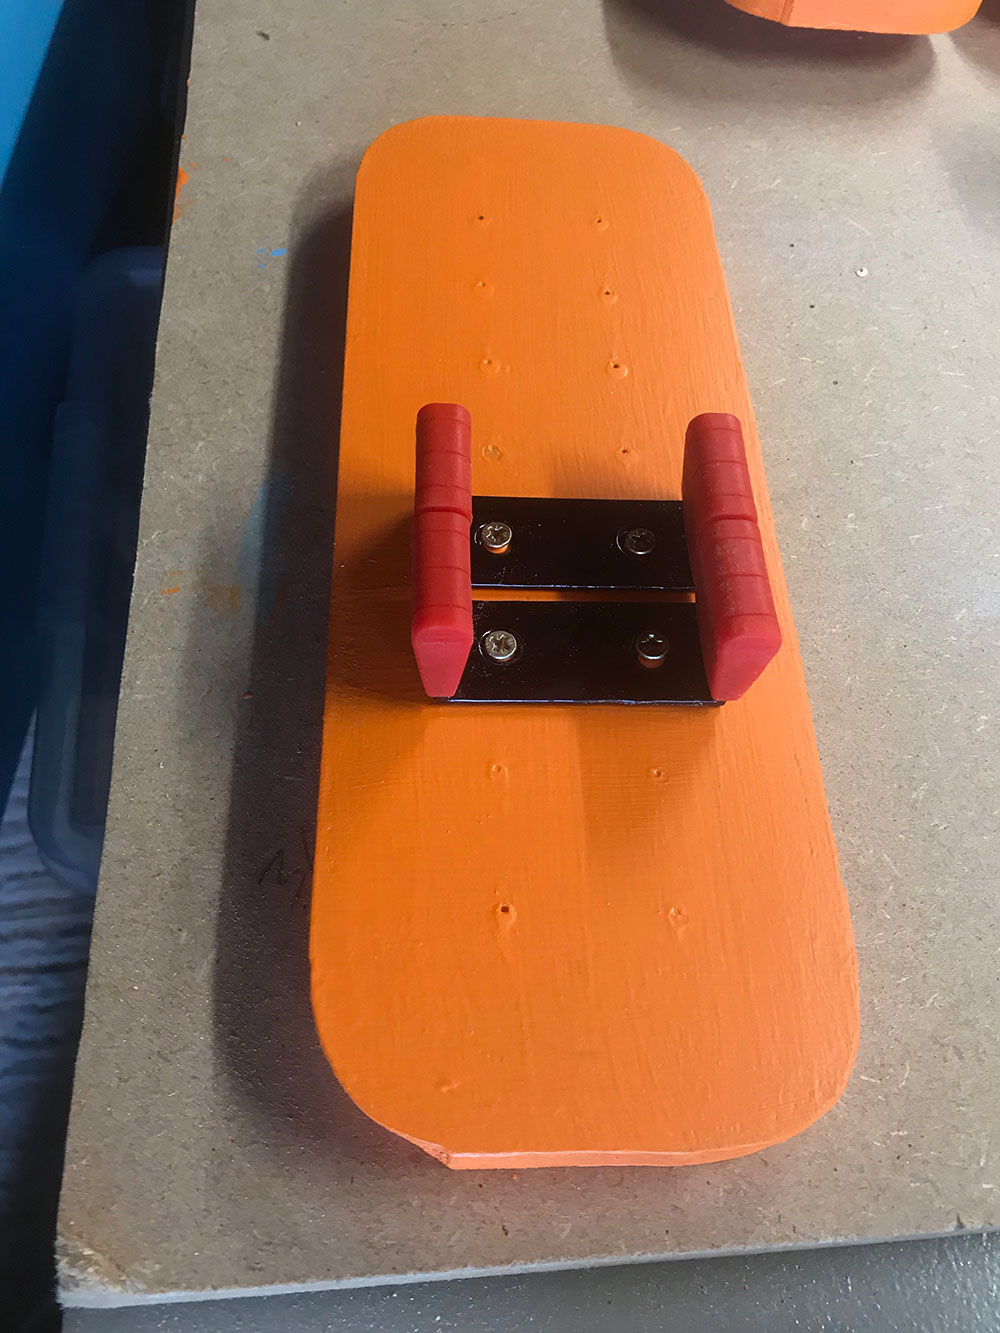
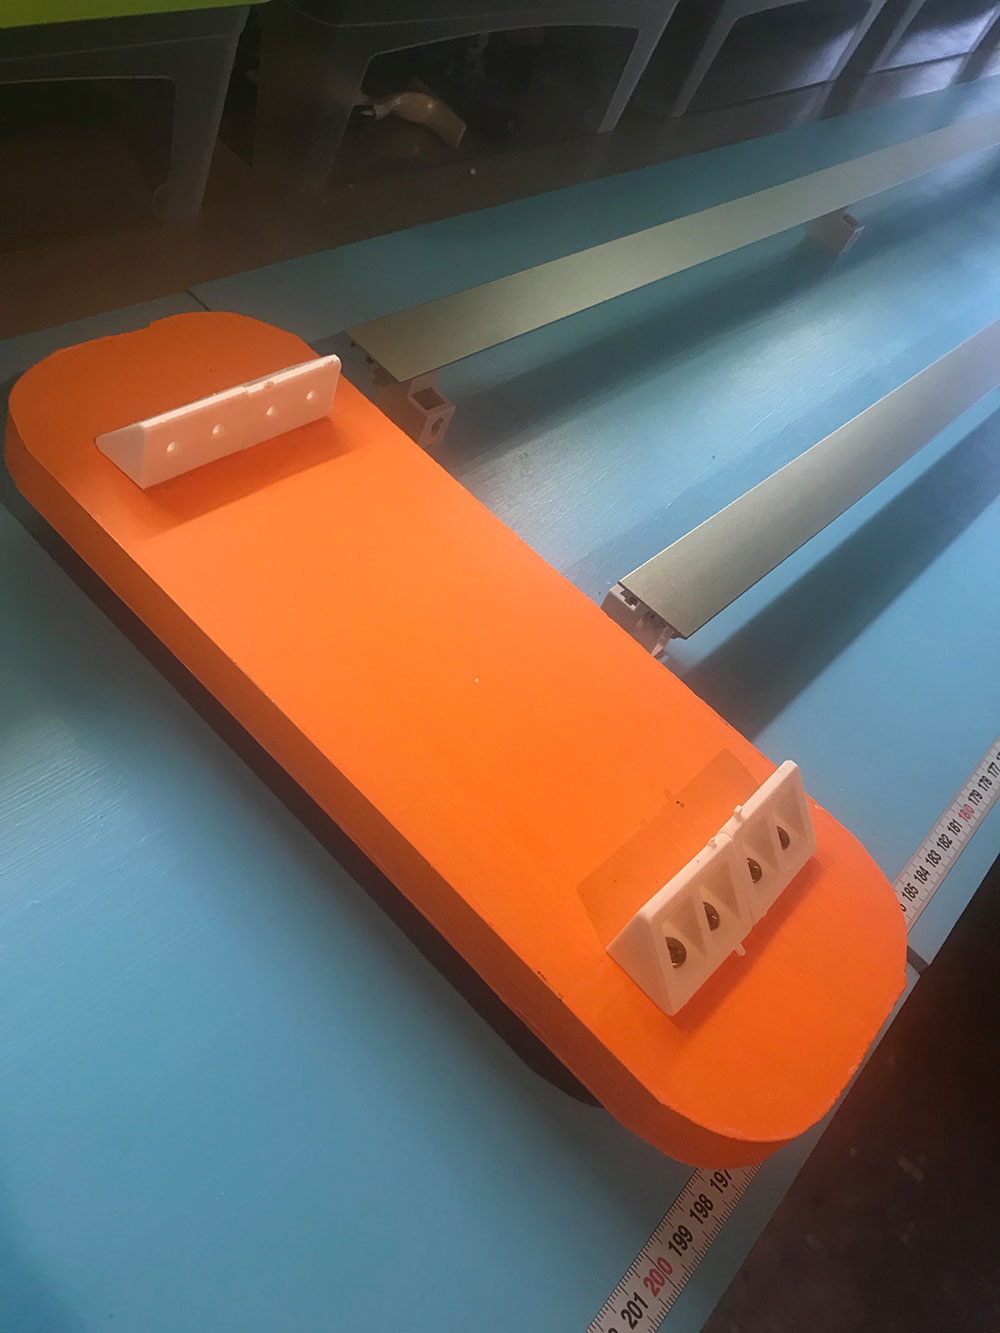
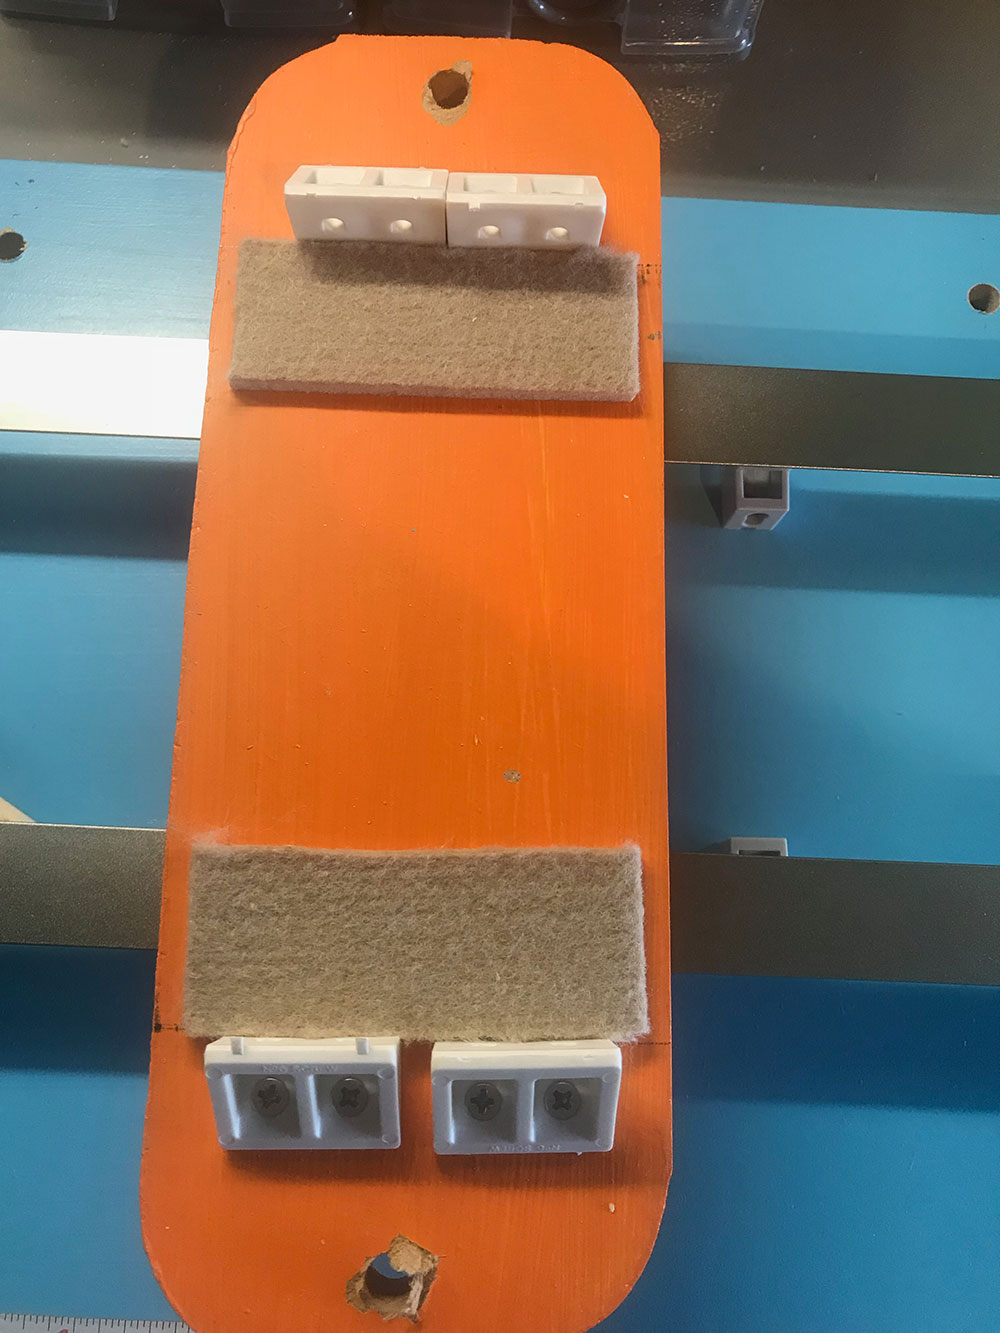
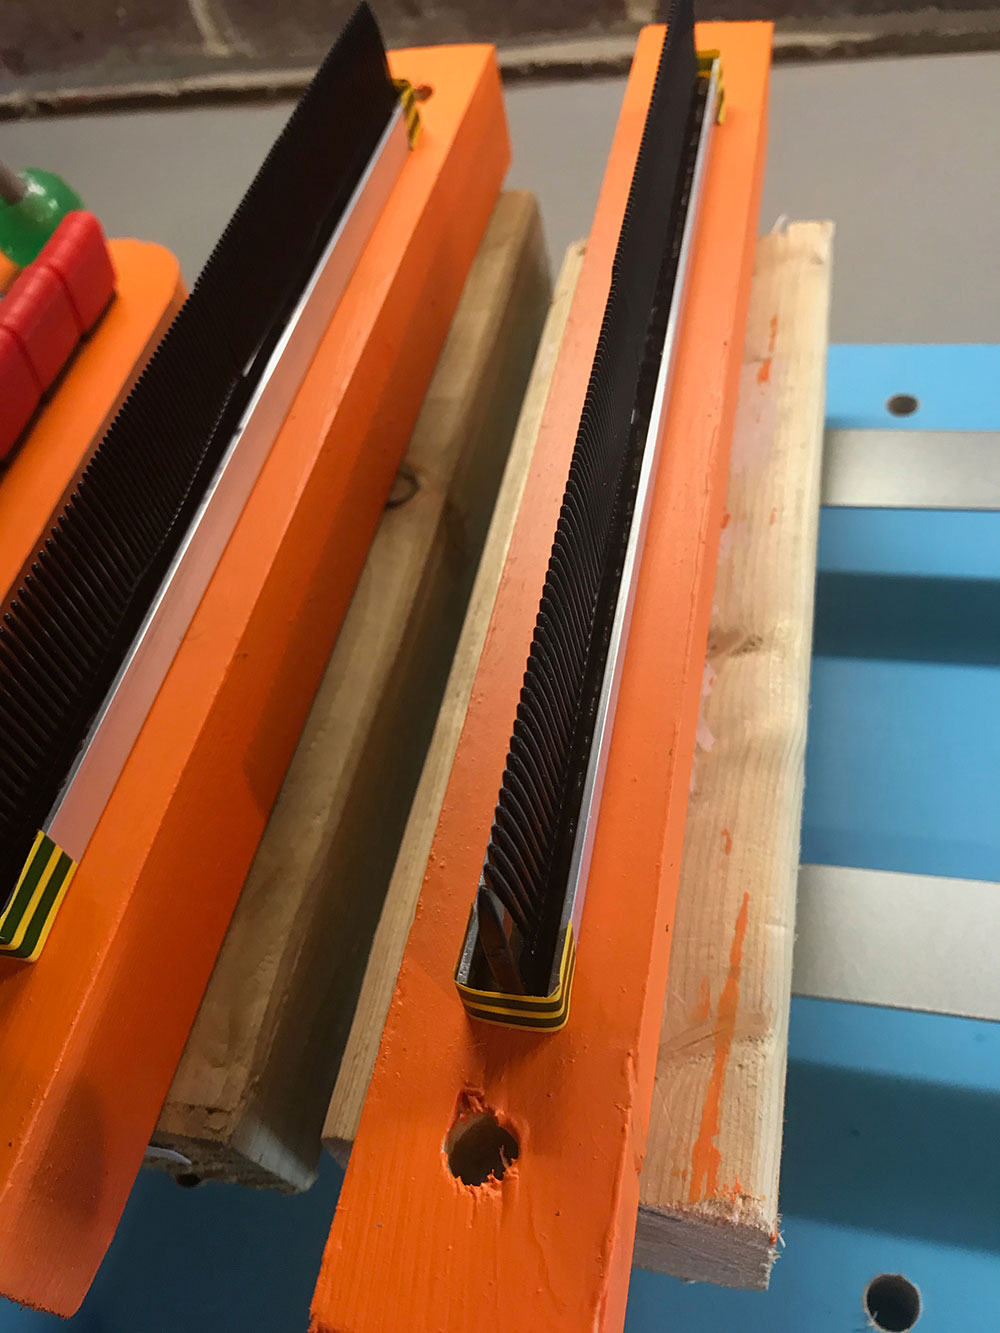
The platforms that hold the Tronixpro Rig Jigs needed to move, so I opted for using curtain track which would allow the platforms to slide up and down the whole rig jig. I mounted curtain rails to the baseboards and added plastic brackets, and some felt to the underside of each jig platform to help them slide along the curtain track. In hindsight, I wouldn’t have bothered with the curtain track. It was a costly part of the build and doesn’t serve any purpose. I can simply move the platforms to where I need them along the baseboard and lock them in place.
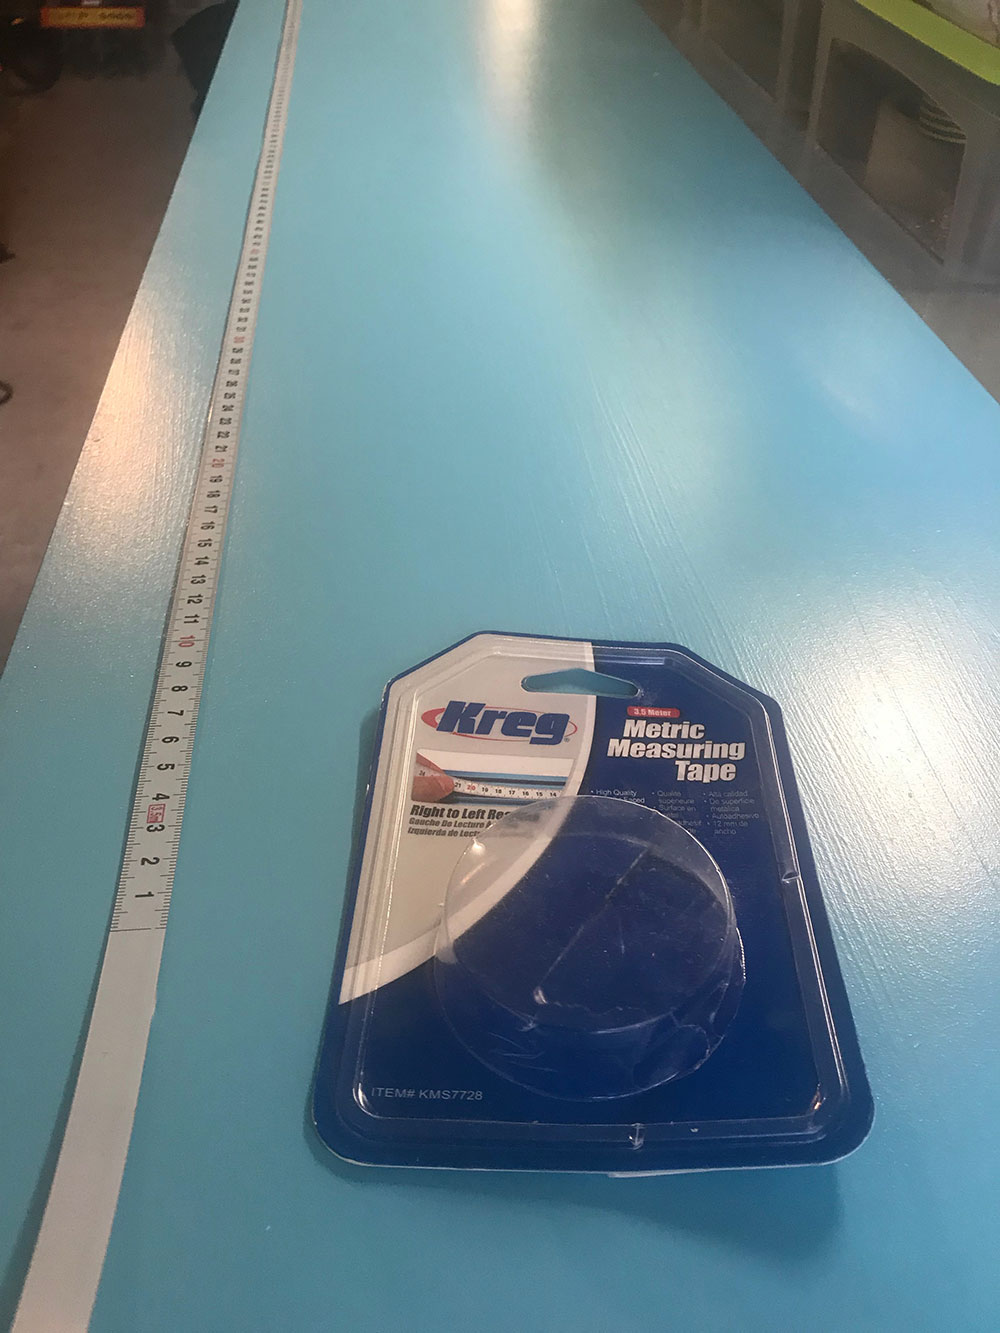
To lock each rig jig platform in place, I drilled locking holes every six inches along the baseboards so that I could secure them in place. They were drilled every six inches so I can make hook lengths in multiples of six inches, twelve, eighteen, twenty-four etc. Now I’ve used the completed jig a few times, this is so limiting. If I want to make a hook length of 15 inches for example, I can’t. So, in the future I’m planning on adding more locking holes so the rig jig becomes even more versatile. To complete this part of the build, I added a rule sticker along the front of the baseboard so I can easily see what lengths the platform is sitting at.
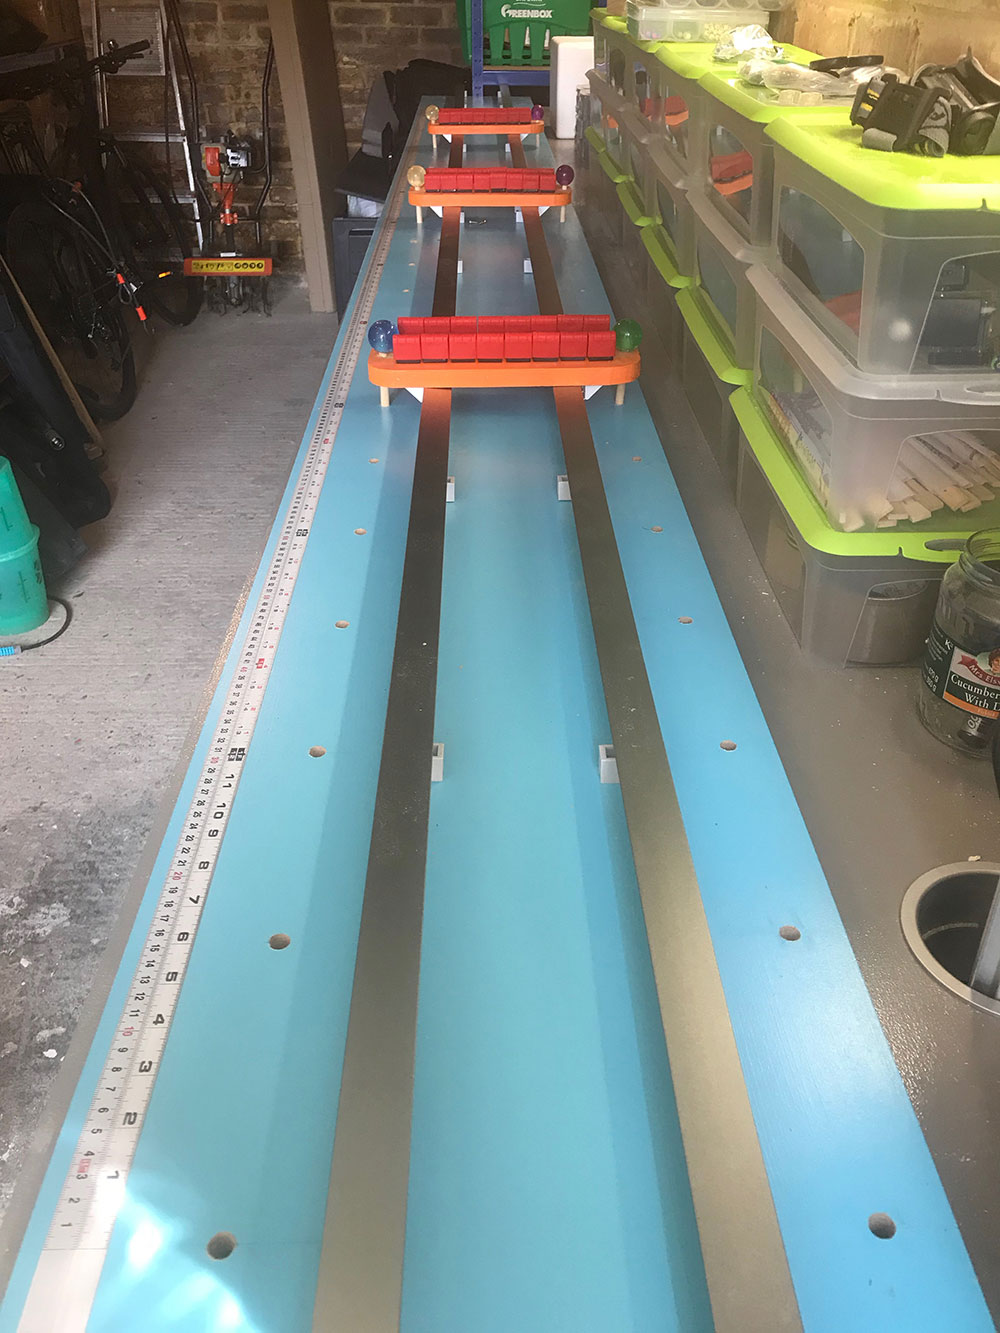
To make the locking pins which hold the platforms in place, I used bits of wooden dowel and fixed bouncy balls on top. The bouncy balls make these locking pins easy to grab hold of to move the platforms to the desired position on the baseboard.
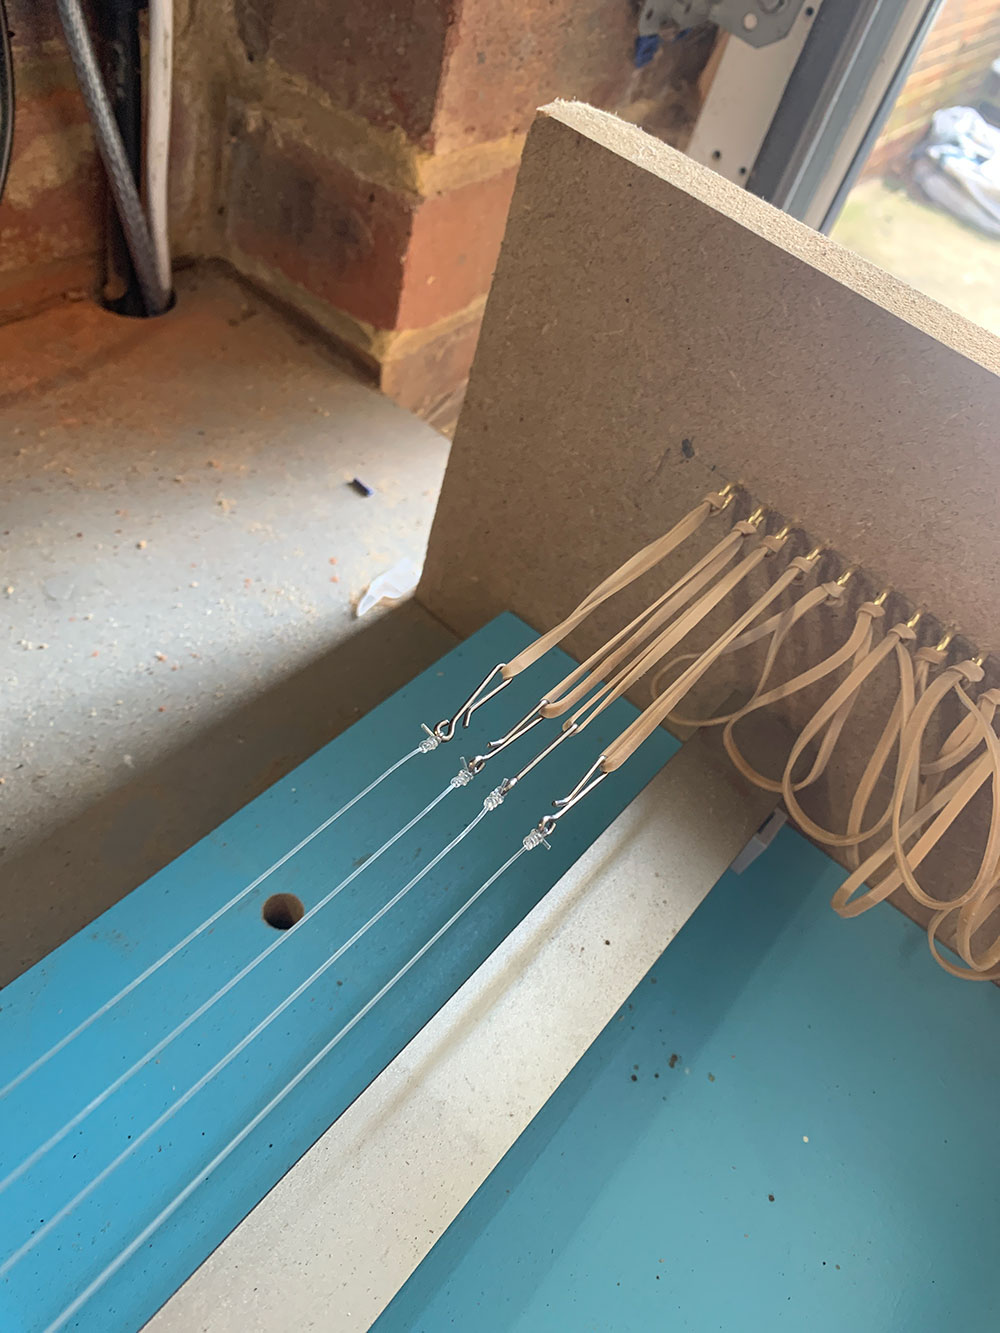
To the ends of the baseboard to hold swivels and clips in place, I mounted combs into a metal U plate. This didn’t work to plan, they were a real pain when I started to make rigs, as soon as you pulled the rig tight the clip would pop off the comb. After a couple of weeks of persisting with these I eventually replaced them with a new system. I’ve now mounted a vertical board to the end of the baseboard to which I’ve screwed in fastening hooks and added elastic bands. The elastic bands are much better for clipping in casting clips and can be adjusted for using swivels. Simply by sliding the elastic band through the swivel eye and clipping the loose end into the fastening hooks on the vertical boards.
And that’s it, my rig jig build. I’m no carpenter or engineer as I’m sure you can see; it is a bit rough around the edges, but it works for me. Here is a quick video rundown of the whole rig jig, complete (before I replaced the combs with the elastic band system detailed above).
As with any project, some little tweaks and adjustments need to be made after the initial build. You can only iron out problems with field testing, and I’ve identified a few issues above that I only realised when I started to build rigs. Some I’ve fixed already and other modifications I’m planning to make soon.
The beauty of this style of build is that it can be as adjustable as you need it to be. You can modify the build to suit the number of rigs you think you’ll realistically build during a rig making session. You don’t have to use eight rig jigs on each platform as I have, you could use two or even one if you wanted or go extreme and add sixteen, it’s up to you.
I hope you’ve enjoyed my account of how I built my rig jig. Hopefully, it is of some good use for you to build your own rig jig. If you feel inspired to build your own rig jig, why not let us know by sending us pictures of how you’ve built yours.